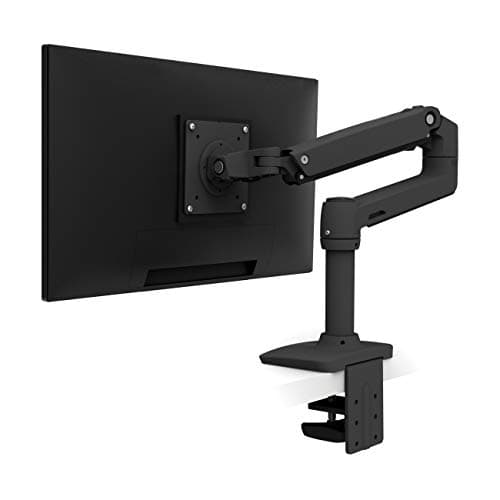
Measure four things before you buy anything: your desktop thickness, whether the back edge is flat for about three inches, how much space there is behind the desk, and your monitor’s weight. The Ergotron LXis the arm to buy if those numbers allow it — clamp or grommet mounting, both VESA patterns, and a 7 to 25 lb range that covers most 27 to 34 in screens — but the measurements decide, not the review.
An arm is the highest-value thing you can add to a desk: it puts the screen at the right height, frees the whole footprint underneath it, and lets you push the monitor back to a proper viewing distance. It is also the accessory most often returned, almost always because of a fit detail that a tape measure would have caught.
Check 1: desktop thickness
Every clamp has a thickness range, and it has a minimum as well as a maximum. The arms below are typical: a clamp wants a desktop in roughly the 0.5 to 3 in band, and a thick butcher-block top or a desk with a chunky apron under the edge can be outside it.
Measure where the clamp will actually sit, not at the middle of the desk. Many desks have a thinner surface with a thicker rail or trim at the back edge, and it is the clamp position that has to fit.
Check 2: is the back edge clear and flat?
A C-clamp needs a flat, unobstructed strip of desktop — usually two to three inches deep — with nothing underneath it for the lower jaw. Rounded back edges, a rear cable trough, a modesty panel, a drawer rail or a wall-hugging hutch all rule out a clamp at that point, though they often leave a clear spot a few inches to the side.
Check what is underneath, too. Clamping over a cable tray, a drawer or an under-desk keyboard tray rail does not work; move the clamp or move the accessory.
Check 3: clearance behind the desk
A clamp needs the desk pulled a couple of inches off the wall, because the clamp body sits behind the back edge, and the arm itself needs room to travel back when you push the screen away from you. A desk pushed tight to the wall typically wastes two to four inches of the arm’s reach.
This matters more than people expect on shallow desks, because the whole point of an arm on a 24 in deep desk is to recover the depth the stand was eating.
Check 4: the weight range, both ends of it
Gas-spring arms have a minimum weight as well as a maximum, and the minimum is the one that surprises people. The Ergotron LX is rated 7 to 25 lb: hang a 4 lb 24 in panel on it and the spring will push the screen up and refuse to stay where you put it. Arms with a stated minimum have one for a reason.
Use the monitor’s weight without its stand, which is how manufacturers publish it, and add anything you are bolting on — a VESA adapter plate, a webcam, a light bar. Then pick an arm whose range brackets that figure rather than one whose maximum merely exceeds it. If you are mounting something large, our ultrawide arm roundup deals with the heavier end specifically, and dual arms have a per-arm rating that each screen has to satisfy on its own.
Clamp or grommet?
Clamp is reversible, takes ten minutes, needs no tools beyond what is in the box, and requires the clear flat edge described above. It is the right default and what most people should use.
Grommet bolts through a hole in the desktop. It is tidier, it is stronger for heavy screens, it works where the back edge is obstructed, and it lets you position the mount anywhere on the surface rather than only at the edge. The catch is that it is permanent: you are drilling a hole in your desk.
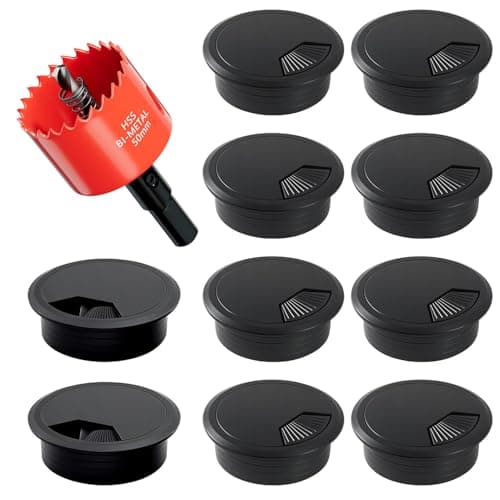
If you go the grommet route, cut the hole deliberately. Decide the position with the monitor in place first, check the desktop thickness against the grommet bolt length, and do it before the desk is loaded rather than afterwards. A grommet hole is not reversible, and it is also the tidiest way to drop cables through the desk at the same time.
Before you mount: does your monitor have a VESA pattern?
Most do, in 75 x 75 mm or 100 x 100 mm, and the arms here take both. Some consumer monitors have no bolt pattern at all, and a few bury it under a recessed plastic shroud that needs a longer screw or a spacer to reach.
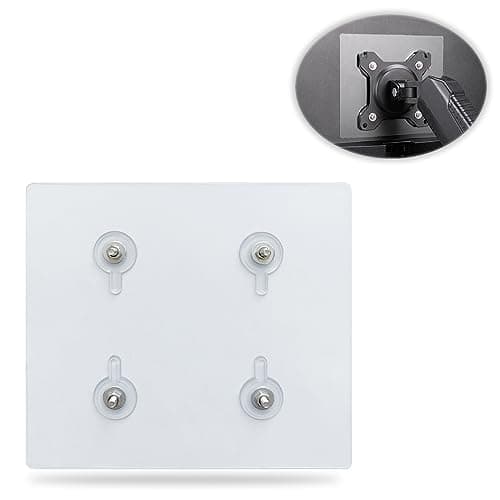
Confirm yours against our VESA mount sizes guide before ordering. If the panel genuinely has no pattern, a universal adapter bracket adds one — just remember to count its weight against the arm’s rating. And if you are still deciding whether an arm is the right answer at all, monitor arm versus stand makes the case both ways.
The install, in order
1. Assemble the base and post first, on the desk, with nothing attached. Tighten the clamp or grommet mount fully before any weight goes on it.
2. Attach the VESA plate to the monitor on a soft surface. Face down on a towel or the monitor box, not held in mid-air. Check screw length against the panel: too long and you are pressing on the back of the display assembly.
3. Route the cables along the arm before you hang the screen. Every good arm has channels or clips. Doing this afterwards means unclipping the covers with a monitor swinging off the end.
4. Hang the monitor, keeping one hand on it. Most arms use a quick-release bracket - make sure it has seated and locked before you let go.
5. Tension the gas spring with the screen on it. This is the step people skip. Adjust the tension screw until the monitor stays exactly where you put it through its whole travel. If it drifts up, reduce tension; if it sags, increase it.
6. Set the height last, from a measurement.Eye level at the top of the screen, roughly arm’s length away - the monitor height guide has the method. Then check the clamp again after a week; they bed in.
The four fit checks, written down
| Measure | Why it matters | Rules out |
|---|
| Desktop thickness at the clamp point | Clamps have a minimum and a maximum | Very thick tops, or a thin top with a rear rail |
| Clear flat strip at the back edge | The clamp jaw needs two to three inches | Rounded edges, troughs, hutches, drawer rails |
| Space behind the desk | The clamp body and the arm travel both need it | A desk pushed flat to the wall |
| Monitor weight without the stand | Gas springs have a minimum as well as a maximum | A 4 lb panel on a 7 lb-minimum arm |
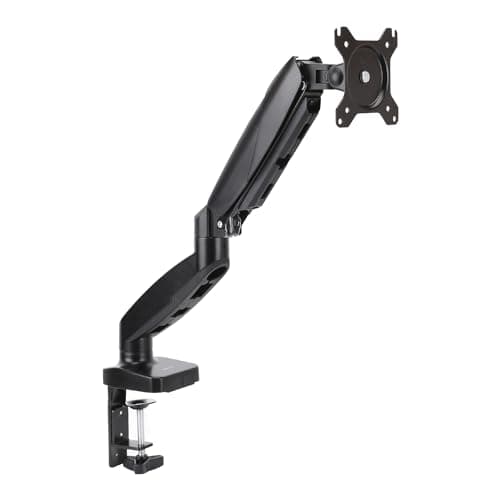
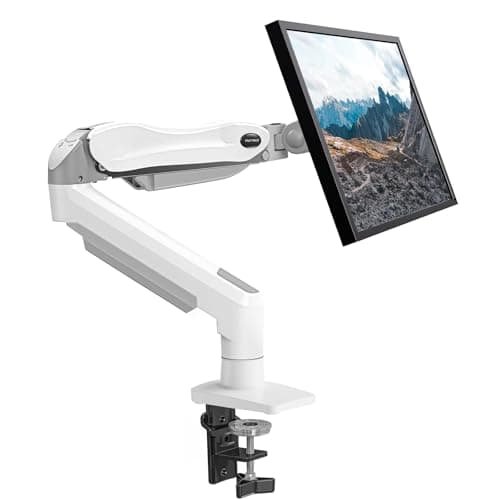
The three arms here have deliberately different weight bands: 4.4 to 17.6 lb (HUANUO), up to about 17.6 lb (Amazon Basics), and 7 to 25 lb (Ergotron LX). Put your monitor’s weight next to those numbers and the choice usually makes itself.
Clamp or grommet, decided
Use a clamp if the back edge is flat and clear, the desk is within the thickness range, and you may want to undo it later. That is most desks and most people.
Use a grommet if the back edge is obstructed, the screen is heavy, you want the mount somewhere other than the edge, or the desk already has a grommet hole. Accept that it is permanent, and use the hole for cables while you are at it.
Use neither if the desk is glass, hollow-core, or a thin floating shelf. A clamp on glass risks the top and a grommet is out of the question; a riser is the safer answer, and the monitor riser roundup covers that case.
Five problems after installation, and the fix
The monitor drifts upward.Too much spring tension for the weight, or the screen is below the arm’s minimum. Reduce tension; if it is already at minimum, the arm is wrong for that panel.
The monitor sags.Increase tension with the screen mounted. If it will not hold at maximum, you are over the arm’s weight rating.
The desk flexes or the clamp marks the top. Use the supplied pad, and move the clamp to a point over a frame member rather than mid-span. On a sit-stand desk, an off-centre clamp also adds a twisting load - the wobble guide explains why centring it helps.
The screen will not go low enough.Most arms mount the post above the desk surface, so the lowest screen position is higher than a stand allows. Check the arm’s lift range if you need an unusually low screen.
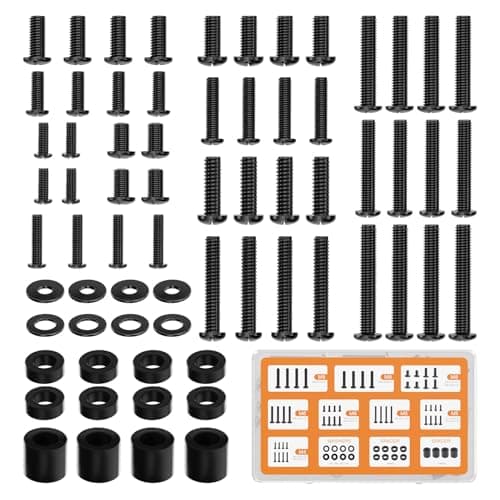
The VESA screws will not reach. Recessed patterns and curved backs need longer threads or spacers - a mixed M4 to M8 kit solves it in ten minutes, and it is listed in the essentials above.