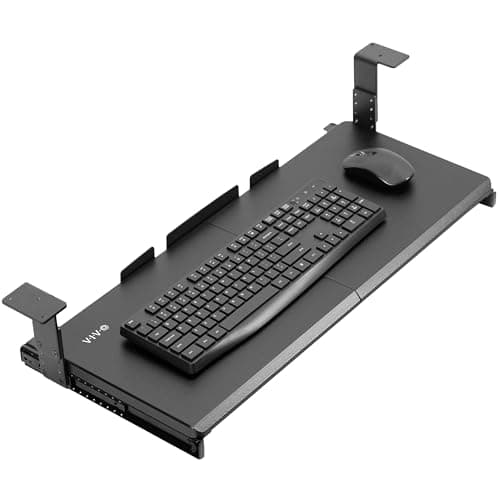
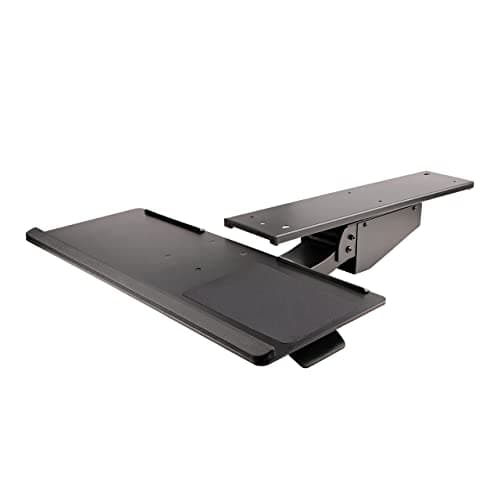
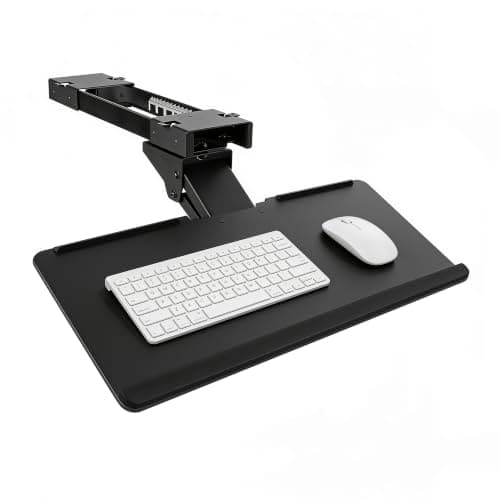
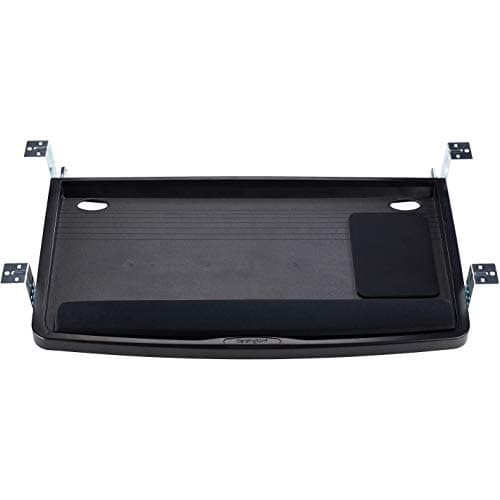
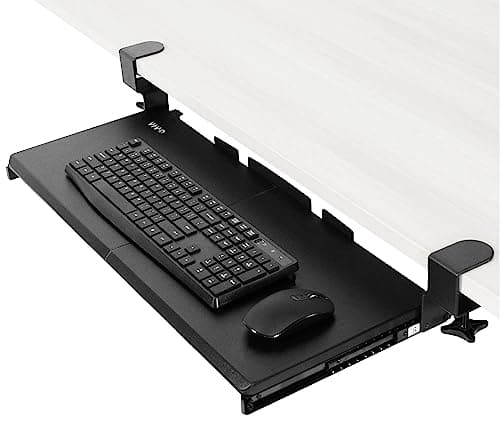
Desks are built to a furniture standard, not to your body. The industry settled on roughly 29 inches for a fixed desk, and that number came from writing at a desk rather than typing at one. For a large share of adults the height at which the forearms hang level and the wrists stay straight is two to four inches lower than that. You can raise the chair to fix the arms, but then your feet leave the floor. You can drop the chair to fix the feet, but then you type with your wrists bent upward all day. An under-desk keyboard tray is the only fix that moves the keyboard instead of moving you.
The number that decides this purchase is the drop. Every tray on this page is a flat surface on a slide, and the marketing for all of them says roughly the same things about smooth ball bearings and sturdy steel. The specification that separates them is how far below the desktop the typing surface actually sits. The trays here range from about 1.5 inches of drop to more than 13 inches of adjustment travel, and that spread is the difference between a tray that tidies your desk and a tray that fixes your posture. If you have already measured your correct desk height and found you are two or three inches too high, buy for that number and ignore everything else on the box.
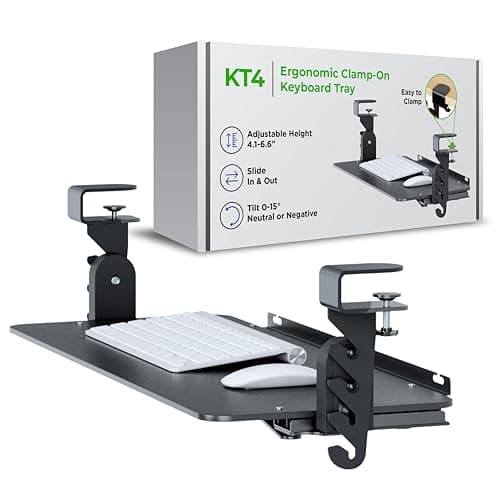
Negative tilt is the second half of the fix. A tray that only drops keeps your keyboard flat and low, which is better than flat and high. A tray that also tilts the back edge down below the front lets your hands fall into the same line as your forearms rather than cocking upward at the wrist. That angle is the one our keyboard and mouse ergonomics guide keeps pointing at, and it is the reason the flip-out feet on the back of most keyboards are the wrong way round for typing. Two picks below do negative tilt properly; three do not tilt at all, and they say so.
How the tray attaches decides whether you can have one.There are three mounts in this category. Clamp-on trays grip the front edge of the desktop with C-clamps and need nothing but a flat edge within a stated thickness range — no drilling, and they come off cleanly when you move. Screw-mounted trays fix a track to the underside with wood screws, which is stronger and lets the tray sit deeper under the desk, but it puts permanent holes in the desk and rules out glass and thin veneers. Track-and-arm systems screw on as well, but add a spring-loaded arm between the track and the platform, which is where the real height and tilt adjustment comes from — and where the price goes.
A tray costs you something, and nobody puts that on the box. It eats the space above your knees, so tall users should measure their thigh clearance before ordering. It occupies the underside of the desk that a drawer pedestal may already own. It removes the strip of desktop directly in front of you as a writing surface, because the keyboard is now below it. And a tray parked too far forward re-creates the reach problem it was meant to solve. None of that makes a tray a bad idea; it makes measuring first a necessary step rather than an optional one.
One honest caveat before the picks. If your desk height is adjustable, you do not need a tray at all — you need to lower the desk, and a sit-stand desk solves the same problem across a wider range with no clearance penalty. A tray is the answer for a fixed desk you like, a rented or shared desk you cannot replace, or a desk that is already the right height for writing and the wrong height for typing. If the desk is the wrong height for both, replace the desk.
Everything here is ranked on published manufacturer specifications — drop range, tilt, tray size, clamp thickness and the clearance each system demands underneath. Where a manufacturer does not publish a figure, this page says so rather than filling the gap.
How to choose an under-desk keyboard tray
Measure the gap before you shop
Sit in your chair with your feet flat on the floor and your thighs level, then drop your arms and bend the elbows to ninety degrees. The height of your hands in that position is your typing height. Measure from the floor to your palms, then from the floor to the top of your desk. The difference is the drop you need, and it is the only number that should drive this purchase. If it comes out under two inches, almost any tray here works. If it is four inches or more, the budget clamp-on trays will not reach and you should be shopping the screw-mounted and arm-mounted options only. The full measuring sequence, chair included, is in the desk height guide.
Clamp, screw, or arm
Clamp-on trays grip the front edge of the desktop. They install in minutes, leave no marks and travel with you, and they are the only realistic option on a rented or shared desk. The trade is reach: clamps sit at the desk edge, so the tray hangs from the top surface, and most clamp designs only get a couple of inches below it. They also need a flat, parallel front edge within a published thickness range, which quietly excludes rounded edges, thick butcher block and most glass.
Screw-mounted trays fix a steel track to the underside of the desktop. That places the whole mechanism under the desk rather than at its edge, which is why the screw-mounted picks here reach four or five inches of drop where the clamp-ons manage two or three. The cost is a set of permanent holes and a minimum desktop thickness — three quarters of an inch on the VIVO track, 20 mm on the StarTech.
Arm-mounted systems add a spring-loaded arm between the track and the platform. This is where the real adjustability lives: continuous height rather than fixed settings, tilt on a knob rather than a bracket, and swivel. It is also where the space demand goes up, because the arm needs a long clear run of underside to retract into. Read the mounting footprint before the price on any of these.
Negative tilt, and why your keyboard feet are backwards
Almost every keyboard ships with flip-out feet at the back that raise the far edge. They exist because they make the legends easier to read, not because they help your hands — raising the back edge forces the wrist into extension, which is the position that loads the carpal tunnel. Negative tilt does the opposite: the back edge drops below the front, the hands settle into line with the forearms, and the wrist stays neutral. On a desk that is already too tall you cannot get negative tilt at all, because the keyboard has nowhere to go. That is the second reason to buy a tray, and it is why the trays that tilt are worth the premium over the trays that only drop. The angle argument in full, along with what to do if you keep the keyboard on the desktop, is in the keyboard and mouse ergonomics guide.
Get the mouse onto the tray
A tray wide enough for the keyboard but not the mouse is a half-measure that can make things worse: the keyboard drops three inches, the mouse stays up on the desktop, and your mousing shoulder now works at a different height from the other one all day. Any tray you buy should be wide enough to carry the board and the pointing device together. That is easier with a narrower keyboard, which is one of the quiet arguments for a compact or tenkeyless board — dropping the number pad buys back roughly three inches of tray width and pulls the mouse closer to your centerline at the same time.
Weight capacity is lower than you think
The published capacities in this category are modest: 11 lb on the two VIVO trays, 4.4 lb on the StarTech arm, and nothing published at all on the Mount-It! and Uncaged models. Those numbers are for the equipment, not for you. If you rest your forearms on the tray edge — and most people do, unconsciously, for hours — you are loading it well beyond a keyboard and a mouse. That is the single most common cause of the sag and wobble complaints in this category, and it is also why a wrist rest on a low, flat tray beats leaning on the front lip of the tray itself.
Four measurements before you order
Take these with a tape measure, not by eye. First, desktop thickness at the front edge, which decides whether a clamp fits at all. Second, clear depth under the desktop from the front edge backward, which has to exceed the track length — 18.2 inches on the Mount-It!, about 29.5 inches on the StarTech and the Kensington drawer. Third, the width of clear underside between any drawer pedestal, cross-brace or cable tray already mounted there. Fourth, the gap between the top of your thighs and the underside of the desk, because everything the tray adds comes out of that gap. Tall users on standard desks are the buyers most likely to need a tray and the most likely to run out of knee clearance for one. The keyboard tray install guide takes those four measurements through the clamp-or-screw decision and the mounting order, including what to do when the track fouls a drawer.
The alternatives, honestly
A tray is one of four ways to close the gap between desk height and typing height, and it is not always the best one. Lowering the desk is free if the legs adjust and permanent if they do not. Raising the chair and adding a footrest costs less than most trays and keeps the desktop intact, but it changes your relationship to the monitor and can leave the screen too low. A sit-stand desksolves the problem across its whole range and adds standing on top, at several times the price. The tray wins when the desk is fixed, otherwise good, and you are unwilling or unable to replace it — which describes a great many home offices and nearly every shared one.
What a tray does to the rest of the desk
Two knock-on effects catch people out. The first is the monitor: dropping your keyboard does not change your eye height, but it does change your posture, so it is worth re-checking screen height afterward against the monitor height rules. The second is cabling. A tray moves in and out several times an hour, and a keyboard cable that was fine on a static desktop will now be dragged, pinched or unplugged. The StarTech and the Kensington both include clips for this; on the others, route the cable with a little slack and clip it to the tray — the same principle as cable management on a moving desk.