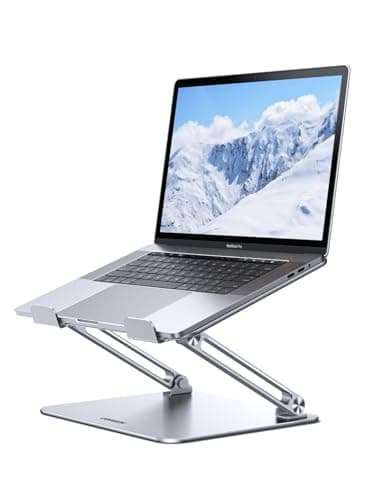
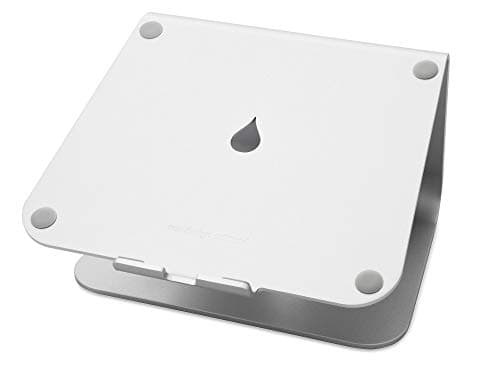
Start by putting the laptop on a stand and adding an external keyboard and mouse. That one change — the Rain Design mStandis the pick, a single-piece aluminium riser that lifts the screen about six inches — fixes the neck flexion that makes laptop work ache, because it separates the two things a laptop deliberately fuses. Everything else on this page is refinement.
The problem is geometric, not a matter of toughing it out. Your screen wants to be at roughly eye level, around twenty inches away. Your keyboard wants to be at elbow height, which for most people is four to six inches lower than that. A laptop puts both surfaces in the same plane, so you can satisfy one requirement or the other and never both. Every laptop ergonomics recommendation that follows is a way of breaking that link.
Step 1: lift the screen
Put the laptop on a riser so the top of the display sits at or just below eye level when you are sitting upright. On most desks that means raising it four to six inches, which is roughly what a fixed aluminium stand provides.
Height is not the only gain. A stand also lifts the laptop’s underside off the desk, which helps the fans, and it puts the webcam at eye level instead of under your chin — the single biggest free improvement to how you look on calls, which our video call setup page goes into properly.
Check the number rather than guessing: our monitor height guide has the eye-level method, and it applies to a laptop display exactly as it does to a monitor.
Step 2: move the keyboard and mouse down to the desk
The moment the screen goes up, the built-in keyboard becomes unusable, and that is the point. An external keyboard sits at elbow height on the desk where it belongs, and an external mouse gives you a proper hand position instead of a trackpad that holds your wrist at an angle.
Two things to get right. Keep the keyboard narrow — a board without a number pad keeps your mouse hand closer to your shoulder, the argument our keyboard and mouse ergonomics guide makes in detail. And match the mouse to your hand rather than buying whatever is cheapest, which is what the mice-by-hand-size roundup is for. On a Mac laptop, a board with Mac legends saves a daily irritation — see the best keyboards for Mac.
Step 3: decide about the lid
There are three valid configurations and people argue about them more than they need to.
Laptop screen only, raised. Cheapest, and perfectly good for a lot of work. The stand plus a keyboard and mouse is the whole setup.
Laptop screen plus an external monitor.The laptop becomes a second screen, usually for chat and reference, with the external monitor square in front of you. A stand is what makes this work, because it brings the laptop display up to roughly the same height as the monitor — mismatched heights are the reason two-screen laptop setups feel wrong.
Closed lid, external monitor only.Tidiest, and the right answer when desk space is tight. Two cautions: a closed laptop vents less freely, so leave the stand’s airflow path clear rather than shutting the machine in a drawer, and you will need an external keyboard to wake it. On macOS, closed-lid operation needs power connected and an external display, keyboard and pointing device attached.
Step 4: collapse the cables to one
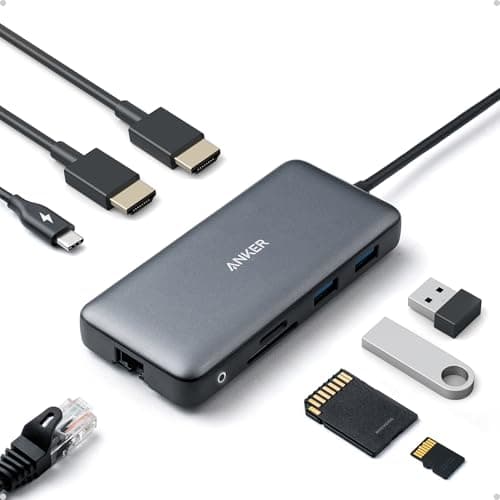
Once there is a keyboard, a mouse, a monitor, power and probably ethernet, the laptop becomes something you plug in four times a day. A dock turns that into one connector: screens, peripherals, network and charge over a single USB-C cable.
The compatibility detail that catches people is display handling on Apple silicon. Many simple USB-C docks drive two external screens on a Windows laptop but mirror them on a Mac, because the Mac handles multi-stream displays differently. If you need two independent screens from a MacBook, you want a dock with DisplayLink or a Thunderbolt dock with two native outputs — the Thunderbolt dock roundup and the USB-C versus Thunderbolt comparison both cover which is which.
Step 5: tidy what is left
A docked laptop setup has one cable at the desk and a knot of them behind it. Getting the power brick and the excess cable off the floor is a twenty-minute job with a tray and some ties — under-desk cable trays and the under-desk cable management guide have the method. Do it now rather than after you have added a monitor arm, not least because the laptop is the one device on the desk that regularly leaves it.
What this does not fix
A stand raises the screen; it cannot lower the desk. If your desk is too high and your shoulders rise to reach the keyboard, the keyboard needs to come down below the desktop, which is what an under-desk keyboard tray does. Confirm which problem you have with the desk height guide before buying either.
The three configurations, compared
| Setup | What you need | Best for |
|---|
| Laptop screen only, raised | Stand, keyboard, mouse | Small desks and tight budgets |
| Laptop plus one monitor | Stand, keyboard, mouse, monitor, cable or dock | Most people, most of the time |
| Closed lid, monitor only | Dock or cable, keyboard, mouse, power | The tidiest desk; needs external input to wake |
Four mistakes worth avoiding
Raising the laptop and keeping the built-in keyboard. This is the most common half-measure. The screen is now right and your arms are reaching up to a keyboard at chest height, which is worse than where you started.
Tilting the screen back to compensate. If you are tilting the display up to see it, it is too low. Raise it instead; a tilted glossy panel also catches every ceiling light in the room.
Mismatched screen heights. A laptop at desk level beside a monitor on a stand makes you look down and across constantly. Either lift the laptop to match or close the lid.
Boxing in a closed laptop. Vertical holders and drawers look neat and restrict airflow. If the machine runs hot under load, leave it open on the stand.
Where to go next
If you are adding a monitor, the two decisions are size and whether it charges the laptop over the same cable. The USB-C monitor roundup covers the one-cable option and the Mac monitor roundupcovers pixel density and charging watts for MacBooks. If you would rather lift the monitor off the desk entirely, a monitor arm frees the space a laptop and a stand take up — the monitor arm installation guide covers whether your desk can take one. And if the laptop is sharing the desk with a desktop machine, the switching options are in our two-computers-one-desk guide.