Cabling a standing desk is a different problem from cabling a fixed one, and the difference is a single number: the travel. A typical electric desk moves roughly 20 to 25 inches between its lowest and highest positions, and every cable that leaves the desk for a wall socket or a floor must absorb that entire distance without pulling tight at the top or pooling on the floor at the bottom. Most standing-desk cable disasters — a yanked monitor cable, a dock dragged off a shelf, a plug pulled half out of the wall — are that number being ignored.
Step 1: measure the travel, then measure the drop
Lower the desk fully and measure from the underside of the desktop to the floor. Raise it fully and measure again. The difference is your travel; the larger figure is your required cable length for anything that reaches the floor. Write both down before you buy a single cable tie, because they determine every other decision on this page.
The practical consequence: any cable running from the desk to a wall or floor outlet needs to be long enough for the standing position, with the surplus managed rather than coiled loose. A six-foot power cable that was ample on a fixed desk is often marginal at full standing height once it has to run along the underside first.
Step 2: reduce the number of cables that cross the gap
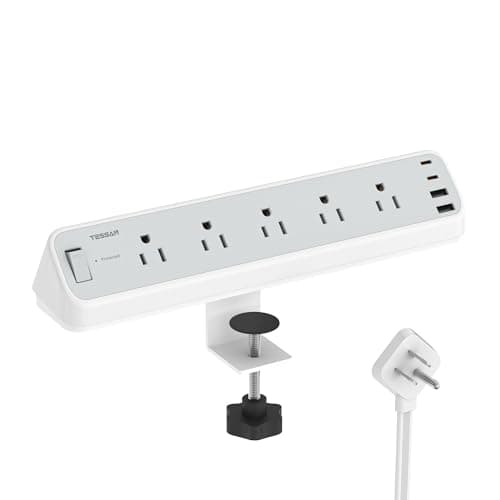
The single most effective thing you can do is make fewer cables travel. Every device that plugs into something mounted on the deskmoves with the desk and never crosses the gap at all. So: mount a power strip to the desk, plug the monitors, the dock, the lamp, and the chargers into it, and now exactly one power cable travels. Do the same on the data side — a USB-C dock that lives on the desk means one cable to the laptop instead of five.
The same logic applies to a desktop tower, and it is the single biggest win available on a moving desk: a machine on the floor forces every display, USB and audio cable to span the gap between something stationary and something that travels 20-odd inches twice a day. Hang it under the desktop with an under-desk PC mount and those cables become short runs between two objects that move together, leaving only power and ethernet to cross.
Done properly, a standing desk should have two cables crossing the moving gap: power, and ethernet if you use it. Everything else terminates on the desk. That is the whole design principle, and the gear below just executes it.
Step 3: give the traveling bundle a path, not a loop
Once you have one or two cables making the journey, they need somewhere to go as the desk rises. A loose loop of slack works until it snags on the chair, catches the desk frame, or swings into the anti-collision sensor. Three approaches, in order of tidiness:
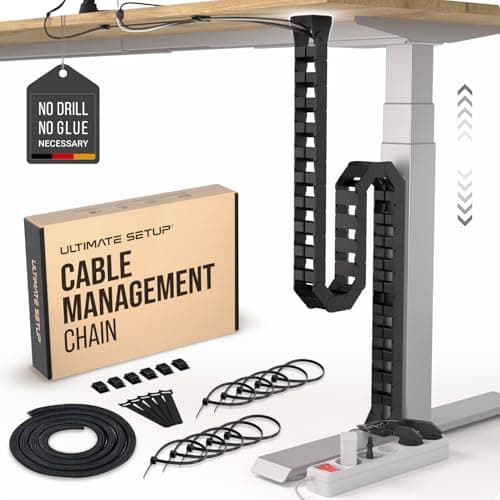
- A cable spine. A flexible segmented column that runs from the underside of the desk to the floor and flexes as the desk moves. It is the purpose-built solution and the only one that looks deliberate at every height.
- A retractable or coiled run. Cheaper, and it works, but a coiled cable stores tension and tends to drift sideways as the desk cycles.
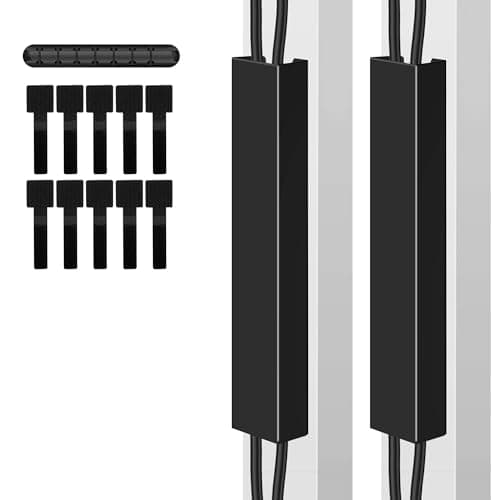
- A managed slack loop. The bundle sleeved and clipped so the loop hangs in a controlled arc rather than wandering. Free if you already have sleeves and clips, and perfectly acceptable if the desk faces a wall.
Step 4: mount the weight, not the cables
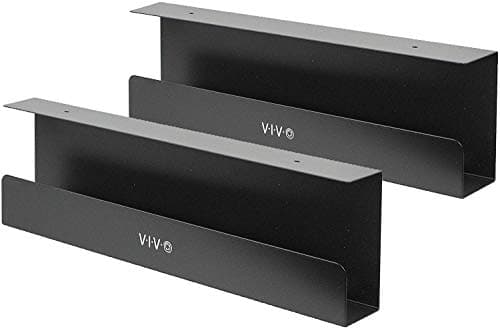
Power bricks are heavy, and on a moving desk that weight cycles up and down a few times a day. If the brick is hanging from its own cable, that cable is taking a repeated load at the connector, which is exactly how a plug works loose or a cable fails at the strain relief. Put the bricks and the power strip in a tray screwed to the underside so the desk carries the weight, not the wire.
Two placement notes specific to sit-stand frames. First, most have a crossbar between the legs, which is often exactly where a single long tray wants to sit — a pair of shorter trays usually fits where one long one does not. Second, check the desktop thickness before drilling: a screw that is a millimeter too long comes through the top of the desk, which is not a mistake you can undo.
Step 5: check the full range before you tidy anything permanently
Before you cut a single tie to length, raise the desk to its maximum and lower it to its minimum, slowly, watching the cables. You are looking for four things: a cable pulling tight at the top, a bundle pooling on the floor at the bottom, anything rubbing against the frame as it moves, and anything that could reach the anti-collision sensor and trigger a false stop. Fix those before you sleeve and tie, because everything gets harder once it is bundled.
Run the cycle again a week later. Cables settle, and a run that cleared the frame on day one sometimes does not once everything has relaxed into position.
The mistakes worth naming
- Cable-tying to the frame. Attaching the bundle to the moving legs means the legs shear the cables against the desktop as they telescope. Route along the fixed underside of the desktop, then drop.
- Adhesive clips on a moving surface. Adhesive that holds fine on a static desk works loose under the repeated flex of a traveling run. Screws, magnets, or a spine.
- Forgetting the monitor arm. If your screen is on an arm, the video cable already has an arc of its own to absorb before it reaches the desk. Route arm cables first, desk cables second.
- Tidying before testing. Every neat bundle built at sitting height gets rebuilt the first time the desk goes up. Test the range, then tidy.
The general routing principles behind all of this — sleeves, trays, raceways, and the order to install them in — are in the under-desk cable management guide. This page is the standing-desk-specific layer on top.
The spine, the tray and the clamp-on strip named here are ranked together with the mat and the keyboard tray in the standing desk accessories roundup.